1
/
of
1
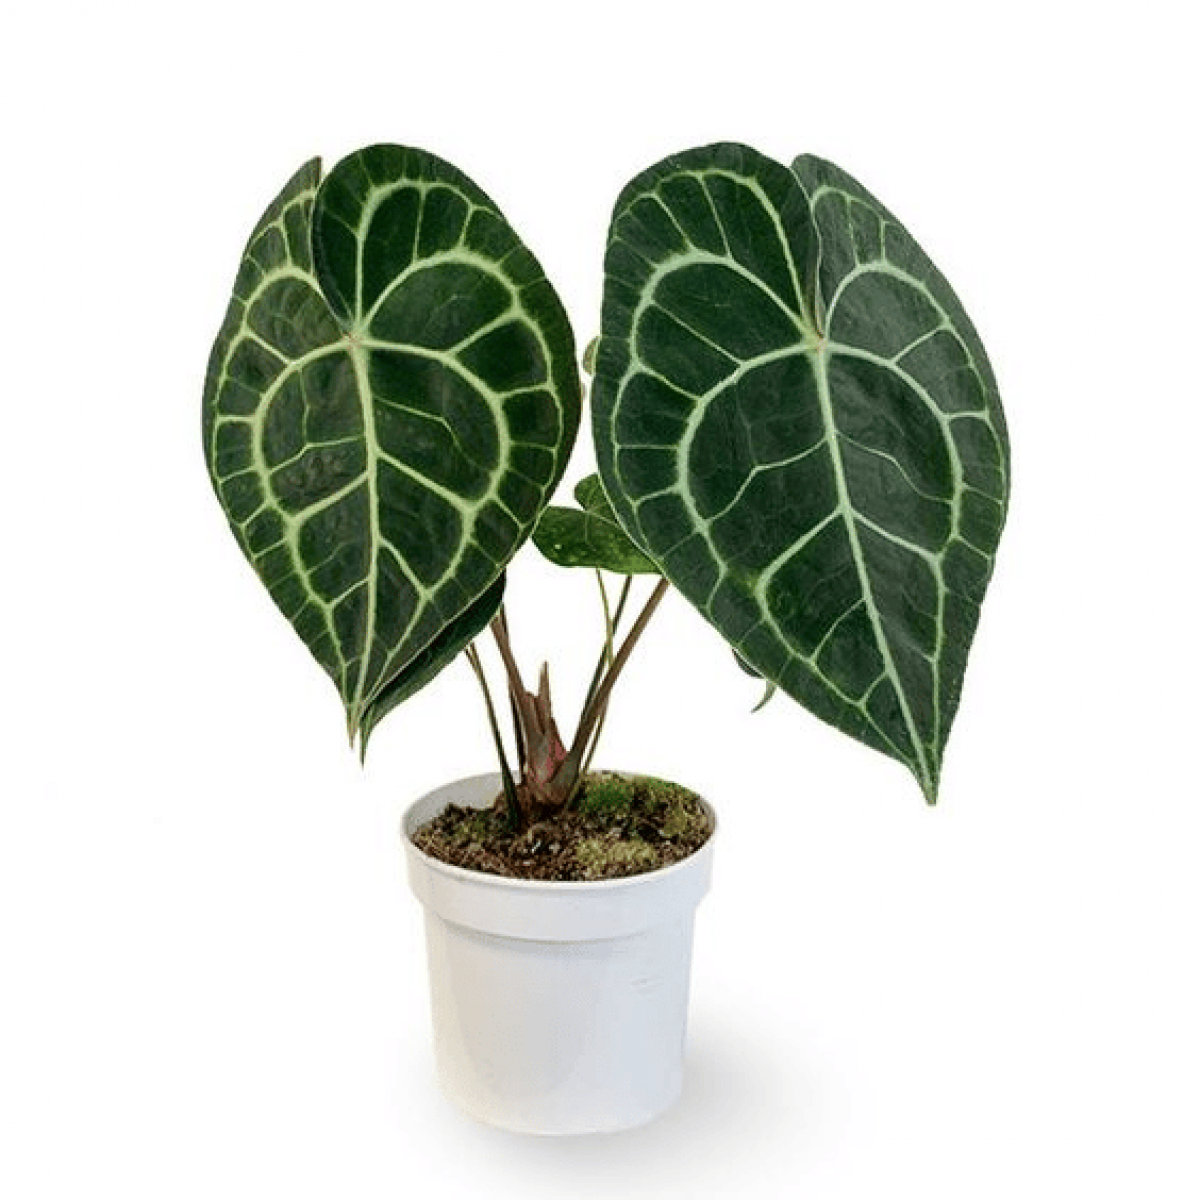
Anthurium Clarinervium ,3 cutting(s)/pot
Anthurium Clarinervium ,3 cutting(s)/pot
Regular price
33.250 KWD
Regular price
Sale price
33.250 KWD
Unit price
/
per
Shipping calculated at checkout.
Couldn't load pickup availability
Anthurium clarinervium, known for its striking velvety leaves and unique veining pattern, is a tropical houseplant that can be a stunning addition to your indoor garden. Here’s how to grow and care for Anthurium clarinervium:
Materials You’ll Need:
• Anthurium clarinervium plant
• Suitable pot or container with drainage holes
• Well-draining potting mix (such as aroids or orchid mix)
• Pebbles or small stones (for added drainage)
• Humidity tray or a tray filled with water
• Spray bottle
• Balanced liquid fertilizer for aroids (diluted to half strength)
• Watering can or spray bottle
• Pruning shears (for maintenance)
Steps:
1. Pot Selection: Choose a pot or container that has drainage holes to prevent water from pooling at the roots. The size of the pot should accommodate the current size of your Anthurium clarinervium with a little room for growth.
2. Potting Mix: Use a well-draining potting mix suitable for aroids or orchids. You can add a layer of pebbles or small stones at the bottom of the pot to enhance drainage.
3. Planting: Plant your Anthurium clarinervium in the pot, ensuring that the root ball is at the same depth it was in its nursery container. Fill the pot with the potting mix, pat it down gently, and water the plant thoroughly.
4. Watering: Keep the soil consistently moist but not waterlogged. Water when the top inch of the soil feels dry. Anthuriums like humidity, so it’s a good idea to keep the soil damp.
5. Humidity: Maintain a high level of humidity around your Anthurium clarinervium. You can achieve this by placing the pot on a humidity tray or by misting the plant regularly. Grouping plants together can also create a more humid microclimate.
6. Light: Provide bright, indirect light for your Anthurium clarinervium. Avoid direct sunlight, which can scorch the leaves. A north or east-facing window is often suitable.
7. Fertilization: Feed your Anthurium clarinervium with a balanced liquid fertilizer for aroids every 4-6 weeks during the growing season (spring and summer). Dilute the fertilizer to half strength to avoid over-fertilization.
8. Pruning and Maintenance: Prune your plant as needed to remove dead or yellowing leaves and to maintain its shape. Avoid removing too many healthy leaves at once.
9. Protection: Inspect your Anthurium clarinervium regularly for common indoor plant pests like spider mites or mealybugs. Treat the plant with appropriate treatments if pests are present.
10. Repotting: Repot your Anthurium clarinervium when it becomes root-bound or outgrows its pot. This is typically done every 2-3 years.
With proper care and attention to humidity, Anthurium clarinervium can thrive and produce its unique, beautiful foliage. It’s a stunning houseplant choice for any indoor garden.
Share